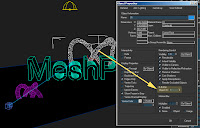
1. In your scene, assign a unique 'Object ID' number for each object (ref above image)
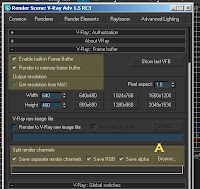
2. Set your Vray Frame Buffer parameters as shown above
A. Assign where to save the split channels (ref above image).
3. Set your Render Elements parameters (ref below image):
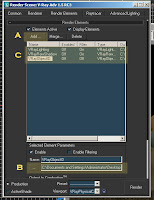
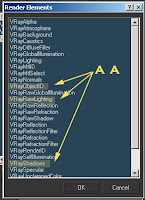
A. Add the channels you need to split render
AA. select the channels you need (ref above image). For this tutorial I picked VrayObjectID, VrayRawLighting, and VrayShadows
B. (pls. ignore this, assign filenames here if using scanline. we already done so in step 2A)
C. Added channels will be reflected here (ref above image)
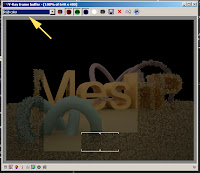
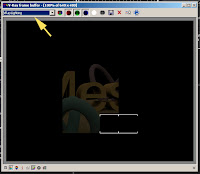
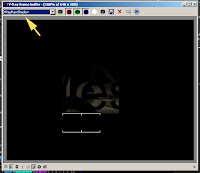
4. Render to open up the Vray VFB (above image). You can scroll to preview the channels during rendertime (ref below images).
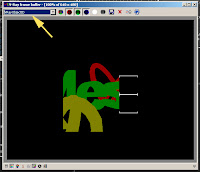
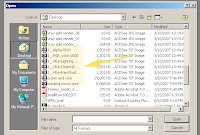
5. Split channels are saved after render (image below):
These is a very basic workflow and will need to be adjusted to suit your needs. Some channels may not work for different image formats (tif, jpeg etc). If you are using Autodesk Combustion for post, max can create a combustion workspace with all the split channels already layered within the workspace file.


 The walkman is velcro-ed to the LaserLine so it doesn't move or shake while you're on the go.
 It become obsolete after 2yrs as I had to take the train more often, after shifting to another job. You won't get any radio signals in the subways here in SG. Furthermore, its difficult to get a consistent radio signal anywhere in SG due to the tall buildings and HDB houses. Finally, the Ipod Nano. Simple, compact, mp3 format, I-tunes software, podcasts...just right. So there they are, my 3 generations of gadgets (my take in history):
 Curious to see my favourite CD's? scroll down some more:


 It would be pretentious, to bring such a big case with humble cymbals in it in a gig. I might settle for platic bags still until bigger cymbals come into acquisitions. So for the sunday's gig it might just stay at home.


 Dunkin's still the best!